In the fast-paced world we inhabit, managing our time effectively can feel like an insurmountable challenge. Enter the Mac Calendar app-a powerful yet often underutilized tool that can transform the way you schedule your day. With its user-friendly interface and robust features, mastering this app can streamline your planning process, keep your commitments organized, and free up precious time in your daily routine. Whether you’re juggling work meetings, family appointments, or personal projects, learning how to maximize the potential of the Mac Calendar app can lead to a more organized life. Let’s dive into the features and tips that will ensure effortless scheduling for you today.
Optimize Your Calendar Settings for Seamless Integration
To enhance your scheduling experience with the Mac Calendar app, it’s essential to dive into the settings that promote seamless integration with other tools you use regularly. Optimizing these settings can save you time and ensure you never miss an important appointment.
Here are some tips to consider:
- Connect Your Accounts: Ensure that your Google, iCloud, or Microsoft accounts are synced with the Calendar app. This allows all your events to be displayed in one place. Go to System Preferences > Internet Accounts, and add your email accounts to enable synchronization.
- Set Default Calendar: By default, the Calendar app may use a specific calendar. Set your preferred calendar to save time when scheduling new events. Navigate to Calendar > Preferences > General and select your default calendar under “Default Calendar.”
- Use Color-Coding: Differentiate between personal, work, and public events by assigning distinct colors to each calendar. Right-click your calendar in the list and select a color for better visual separation.
- Enable Alerts: Set up alerts for upcoming events to stay on track. Under Calendar > Preferences > Alerts, you can customize default alert times for events and all-day events.
- Link to Reminders: Integrate your Reminders app by creating a dedicated calendar for reminders that you can check alongside your events, ensuring that all tasks are accounted for.
- Utilize Time Zones: If you frequently deal with international clients or travel, enable Time Zone Support in preferences. Events will display in their respective time zones for accuracy.
To make sure you’re maximizing your Calendar’s effectiveness, consider revisiting these settings regularly, especially if you add new accounts or change your scheduling habits.
Unlocking the Power of Event Features for Better Planning
When it comes to efficient event planning, embracing the right features offered by event management tools can dramatically transform your workflow. These tools can streamline various aspects of event management, ultimately making your life easier as you juggle scheduling, budgeting, and guest engagement.
Here are some key features to look for when selecting an event management platform:
- Registration Management: Efficiently handle attendee registrations with customizable forms and automated confirmations, helping you maintain a smooth onboarding experience.
- Ticketing Solutions: Offer ticket options such as early bird pricing or group discounts, and allow for seamless online purchases via credit cards or popular payment systems like PayPal.
- Built-in Payment Processing: Look for systems that integrate with American payment platforms, enabling you to collect fees directly without cumbersome redirects.
- Real-time Analytics: Utilize data dashboards that provide real-time insights into attendee demographics, ticket sales, and engagement metrics-essential for making data-driven adjustments.
- Event Marketing Tools: Access to built-in email marketing features can help you create targeted campaigns, ensuring maximum visibility and attendance.
- Customizable Event Pages: Design unique event landing pages that capture your branding and essential details, making it easy for attendees to find everything they need to know.
- Mobile Compatibility: Select software that offers mobile access, ensuring that you and your attendees can manage event schedules on-the-go.
- Networking Features: Incorporating networking capabilities enables attendees to connect with each other through built-in chat rooms or forums, enhancing the overall event experience.
In addition to these features, it’s beneficial to understand how integrated communication tools can enhance coordination. For example:
| Communication Tool | Benefit |
|---|---|
| Email Notifications | Keep attendees informed regarding updates and changes. |
| SMS Reminders | Send quick alerts for important event details or changes. |
| Group Chat Features | Facilitate communication among team members during the event. |
To take full advantage of your event planning efforts, consider a platform that embodies these features. Your choice can enhance operational efficiency and ultimately foster a professional atmosphere that your attendees will appreciate.

Mastering Reminders and Notifications for Ultimate Time Management
Mastering reminders and notifications in your Mac Calendar app is a crucial step toward effective time management. By leveraging these features, you can ensure that you never miss an important meeting, deadline, or personal appointment again. Below are essential tips to help you optimize your usage of reminders and notifications:
- Set Up Alerts: Customize alerts for each event to receive timely notifications. You can choose to be reminded minutes, hours, or even days in advance.
- Color-Coding Events: Utilize the color-coding feature to differentiate between personal, work, and special events. This visual cue helps you quickly identify your schedule at a glance.
- Recurring Events: For ongoing tasks or meetings, set up recurring events. This saves time and prevents the need to enter the same information repeatedly.
- Use Location-Based Alerts: Enable location-based notifications to remind you of tasks as you arrive at or leave certain locations, ensuring you stay on top of your responsibilities throughout the day.
- Sync Across Devices: Ensure your Calendar app is synced with all your devices. This guarantees you receive notifications wherever you are, whether on your Mac, iPhone, or iPad.
- Enable Do Not Disturb Mode: When you need focus time, activate Do Not Disturb to silence notifications temporarily while still allowing essential reminders to come through.
Example Notification Settings:
| Event Type | Notification Method | Time Before Event |
|---|---|---|
| Business Meeting | Email & Pop-up | 30 minutes |
| Doctor’s Appointment | SMS | 1 day |
| Family Birthday | Pop-up | 1 week |
Implementing these strategies will help you manage your time efficiently and stay organized, turning the Mac Calendar app into an indispensable tool in your daily life.
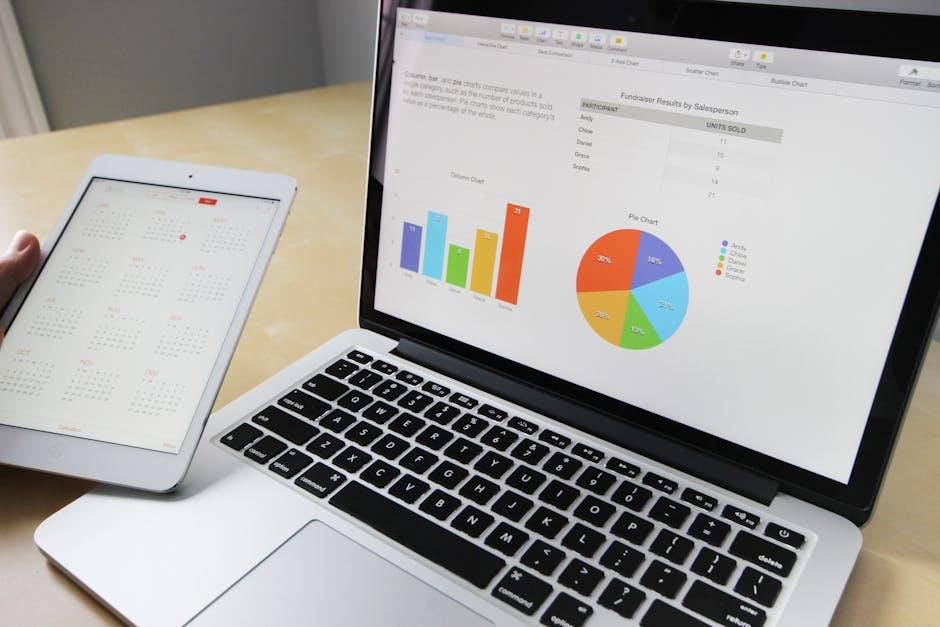
Exploring Syncing Options to Stay Organized Across Devices
In today’s fast-paced world, staying organized across multiple devices is crucial for effective time management. Here’s how you can seamlessly sync your calendars to ensure you never miss an appointment:
iCloud Integration
For Mac users, utilizing iCloud is the easiest way to synchronize your calendars. Once you log in to your iCloud account on both your Mac and iPhone, your events will automatically sync. Make sure to enable calendar syncing in your iCloud settings:
- On your Mac, go to System Preferences > iCloud and check the box next to Calendars.
- On your iPhone, go to Settings > Your Name > iCloud and enable Calendars.
Google Calendar Sync
If you prefer using Google Calendar, you can easily link it to your Mac Calendar:
- Open the Calendar app on your Mac.
- Select Calendar > Accounts.
- Click the + button and choose Google.
- Sign in with your Google account and ensure Calendars are checked.
This will allow you to view and manage your Google Calendar events alongside your Mac Calendar.
Syncing Outlook Calendar
For those using Microsoft Outlook for business purposes, syncing your Outlook Calendar is also straightforward:
- Download the Microsoft Outlook app on your iPhone.
- Add your Microsoft account in the Mail settings on your Mac under Internet Accounts.
- Enable the calendar option.
This lets you maintain appointments from both platforms without hassle. For detailed steps, you can follow guides online to troubleshoot any syncing issues you might encounter [[2]].
Direct USB Syncing
If you’re looking to sync calendars from an iOS device directly with your Mac, connecting via USB is a reliable option:
- Connect your iPhone or iPad using a USB or USB-C cable.
- Open Finder and select your device from the sidebar.
- Choose the Info tab and select Sync calendars.
This method is particularly useful if you prefer transferring data without relying on cloud services [[1]].
Dive into these syncing options to tailor your scheduling experience, combining professionalism with personal organization. Whether you are managing appointments across platforms or keeping track of family events, a properly synced calendar keeps your life streamlined.

Future Outlook
As you embark on your journey to master the Mac Calendar app, remember that effective scheduling is just a few clicks away. Embracing its powerful features not only enhances your productivity but also gives you the freedom to organize your time with ease. Whether you’re syncing appointments, setting reminders, or coordinating events with friends and colleagues, the Mac Calendar app is your trusty companion in navigating life’s busy schedule. With practice and exploration, you’ll transform chaotic days into seamless experiences. So, dive in, experiment, and let your calendar work for you. Happy scheduling!


