Unlocking the power of your iPhone goes beyond its sleek design and cutting-edge features; one simple yet essential skill can elevate your digital experience-mastering screenshots. Whether you’re capturing a memorable moment, saving vital information, or sharing a quick tip, knowing how to take screenshots effectively can streamline your interactions. In this article, we’ll explore various methods and tips to ensure that you can snap, edit, and share your screenshots like a pro. Dive in and discover how to capture what’s on your screen at any moment with ease!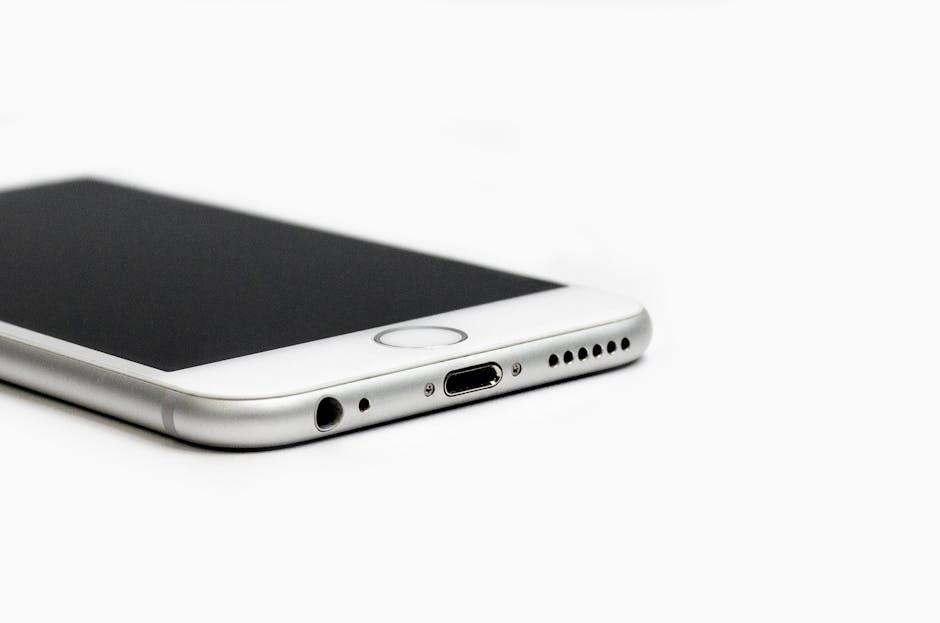
Unlocking the Screenshot Feature: A Step-by-Step Guide
Taking a screenshot on your iPhone is a quick and efficient way to capture moments, share information, or save important data from apps and web pages. Whether you’re using the latest model or an older version, the process is straightforward. Here’s how you can unlock this essential feature:
For iPhones with Face ID:
If you own an iPhone with Face ID, such as the iPhone X or later, follow these steps:
- Locate the Side Button and the Volume Up Button on your device.
- Quickly press and release both buttons at the same time.
- Look for a thumbnail preview in the lower-left corner; tap it to make edits or share it instantly.
For iPhones with Touch ID:
If you have an iPhone model that still uses Touch ID, like the iPhone 8 or earlier, here’s what to do:
- Hold down the Home Button and the Power Button simultaneously.
- Release both buttons quickly.
- A thumbnail will appear in the lower-left corner for you to view and edit.
Full-Page Screenshots:
If you want to capture an entire webpage in Safari or content that extends beyond the screen:
- After taking your initial screenshot, tap on the thumbnail.
- Choose the Full Page option at the top of the screen.
- Once you’ve selected it, save it to your Photos or Files app.
| Device Type | Screenshot Method |
|---|---|
| iPhones with Face ID | Side Button + Volume Up |
| iPhones with Touch ID | Home Button + Power Button |
| Entire Webpage in Safari | Initial Screenshot > Select Full Page |
With these steps, you can easily capture and share your screen, whether it’s for work, personal use, or just for fun!
Tips for Capturing the Perfect Screenshot Every Time
Taking the perfect screenshot on your iPhone is an invaluable skill, whether you’re trying to save important information, share a funny moment, or document a conversation. Here are some tips to ensure you capture your images seamlessly:
- Use the Right Buttons: For most iPhones, simply press the Side Button and the Volume Up Button simultaneously. If you have an iPhone with a Home button, press the Home Button and the Side Button at the same time.
- Check Orientation: Make sure your screen is in landscape or portrait mode based on how you want the final image to look. Adjust your iPhone accordingly for the best results.
- Mind Your Notifications: Disable notifications before taking a screenshot to avoid unwanted pop-ups or sensitive information showing up in your image. You can do this by enabling Do Not Disturb mode from the Control Center.
- Use AssistiveTouch: If you have difficulty using the buttons, enable AssistiveTouch in your settings. This feature allows you to tap a floating button to take screenshots easily.
- Crop and Edit: After capturing, tap the thumbnail that appears in the corner of your screen to edit. You can crop, annotate, or add text to your screenshot for clarity. This is especially useful for highlighting important information.
- Save to the Right Location: By default, screenshots are saved to your Photos app. Organize them into albums for easier access later on.
| Tip | Description |
|---|---|
| Button Combination | Trigger screenshot by pressing specific buttons simultaneously for your model. |
| Orientation Matters | Adjust your device orientation to capture the desired frame. |
| Disable Notifications | Turn on Do Not Disturb to keep your screenshot clean. |
| AssistiveTouch | Use this feature for easier access to screenshot function. |
| Editing Tools | Annotate your screenshots to highlight key information. |
| Organizing Screenshots | Sort your screenshots in the Photos app for quick retrieval. |
Implementing these tips will help you take control of your screenshot game, ensuring you capture and share information effectively every time. Happy snapping!

Editing and Managing Your Screenshots Effectively
Once you’ve captured a screenshot on your iPhone, the next step is managing and editing it effectively. This not only helps in organizing your images but also enhances their usefulness. Here are some strategies to make the most of your screenshots:
- Accessing Your Screenshots: All your screenshots are saved in the Photos app. You can find them in the “Screenshots” album for easy access.
- Editing Tools: After taking a screenshot, tap the thumbnail that appears in the corner of the screen. You can utilize tools such as:
- Markup: Use this feature to draw, highlight, or add text to your screenshots.
- Cropping: Trim unnecessary parts to focus on the important elements of your screenshot.
- Adding Shapes/Lines: Enhance your screenshots with shapes, arrows, or lines to draw attention to specific areas.
- Saving and Sharing: Once edited, you can save your changes, or use the share button to send it via email, text, or save it to cloud storage services like Google Drive or Dropbox.
- Organizing Screenshots: Regularly delete unwanted screenshots to keep your photo library clutter-free. Create albums to categorize them based on topics like “Work,” “Recipes,” or “Travel.”
If you find yourself frequently taking screenshots for work-related purposes, consider using a cloud storage service that offers organization tools, such as:
| Service | Storage | Features |
|---|---|---|
| Google Drive | 15 GB (free) | Folder sharing, document collaboration |
| Dropbox | 2 GB (free) | File recovery, offline access |
| iCloud | 5 GB (free) | Seamless with iPhone, automatic sync |
By following these tips, you can ensure that your screenshots are not just saved, but are also easy to edit, manage, and share, making them a valuable part of your digital toolkit.

Exploring Third-Party Apps for Enhanced Functionality
While your iPhone’s built-in screenshot features are efficient, exploring third-party applications can significantly enhance your screenshot-taking experience. These apps often provide advanced functionalities that allow you to customize, edit, and organize your screenshots more effectively.
Here are some popular third-party apps that may elevate your screenshot capabilities:
- Snagit: This powerful tool allows for extensive editing options, including the addition of texts, arrows, and highlights. It’s ideal for creating tutorials or presentations.
- Picsew: If you need to capture long scrolling screenshots, Picsew is an excellent choice. It stitches multiple images together seamlessly, perfect for lengthy webpages or chats.
- Lightshot: This user-friendly app enables quick editing and sharing of screenshots. You can grab any area of your screen and add annotations before saving or sharing directly.
- Skitch: Part of the Evernote family, Skitch provides fun editing features that let you draw, add text, and highlight important sections effortlessly.
Choosing the right app can depend on your specific needs. Here’s a quick comparison:
| App Name | Best For | Key Features |
|---|---|---|
| Snagit | Professional editing | Advanced editing tools, video capture, and sharing options |
| Picsew | Scrolling captures | Stitching capabilities, easy navigation |
| Lightshot | Quick sharing | Instant editing, one-click sharing |
| Skitch | Visual communication | Annotations, easy integration with Evernote |
Using these apps can make screenshot management more efficient and enjoyable. Whether you’re a professional needing precise images or just share funny moments with friends, there’s a tool catering to your unique requirements.
Closing Remarks
In conclusion, mastering the art of taking screenshots on your iPhone opens up a world of convenience and creativity. Whether you’re capturing vital information, sharing moments with friends, or documenting your digital journey, these simple techniques empower you to do so effortlessly. Now that you’re equipped with the skills to snap and share at a moment’s notice, embrace your newfound ability and let your imagination guide you. Happy screenshotting!


