In today’s fast-paced world, convenience is key, especially when it comes to managing payments. Enter the Apple Wallet, a powerful tool that transforms your Apple Watch into a seamless payment device. Imagine tapping your wrist to complete transactions, leaving your wallet behind without a second thought. In this article, we’ll explore how to master the Apple Wallet on your Apple Watch, enabling effortless payments for everything from your morning coffee to an evening out. Whether you’re a seasoned user or just getting started, you’ll discover tips and tricks to streamline your payment experience and make the most of this innovative technology. Get ready to enhance your shopping experience like never before!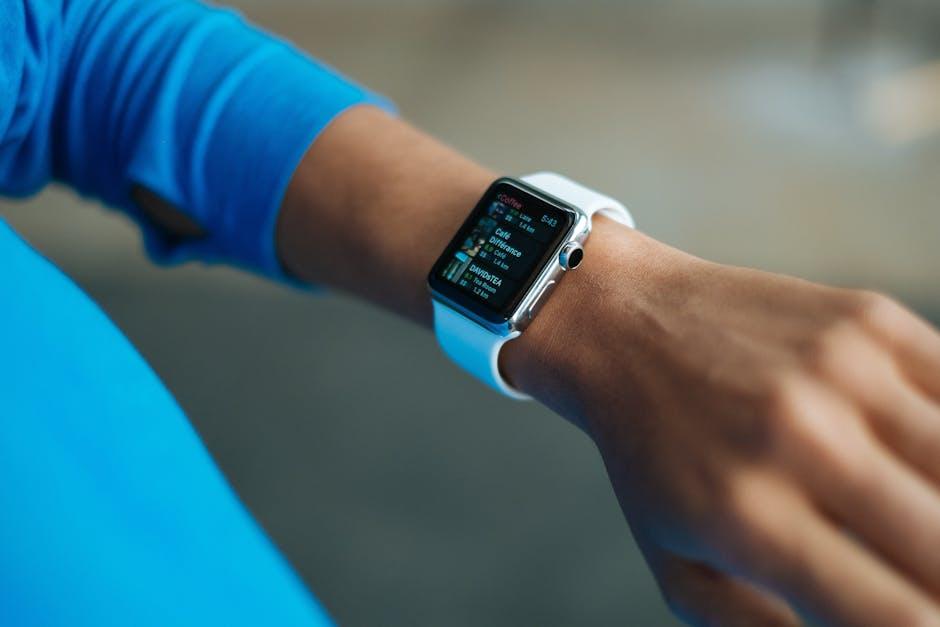
Unlocking the Power of Apple Wallet Features on Your Apple Watch
Apple Wallet on your Apple Watch opens up a world of convenience and functionality that simplifies your daily transactions and enhances your digital experience. By leveraging the features of Apple Wallet, you can streamline payments, store essential cards, and manage your finances effortlessly. Here’s how to unlock the full potential of Apple Wallet on your Apple Watch:
- Seamless Payments: Use your Apple Watch to make contactless payments at compatible retailers, simply by double-clicking the side button and holding your watch near the terminal. It’s fast, secure, and especially handy when your hands are full.
- Store Multiple Cards: Add various payment methods including debit and credit cards from major banks such as Chase, Bank of America, and Wells Fargo. This flexibility allows you to choose which card to use quickly.
- Event Passes and Tickets: Keep your event tickets, boarding passes, and loyalty cards right on your wrist. This ensures you never miss an important entry, and can access them without rummaging through your phone.
- Ride Sharing and Public Transit: Connect your Apple Wallet to transit fare cards or ride-sharing apps like Uber and Lyft for quick access. Just tap your watch to pay and go!
- Rewards and Offers: Check for rewards programs directly through Apple Wallet. You’ll have your loyalty cards right at your fingertips, allowing you to earn points seamlessly with every purchase.
Here’s a quick comparison of some popular banks and their compatibility with Apple Wallet:
| Bank | Card Types Supported | Special Features |
|---|---|---|
| Chase | Visa, Mastercard | Cashback rewards tracking |
| Bank of America | Visa, Mastercard | Quick balance view |
| Wells Fargo | Visa, Mastercard | Access to mobile banking |
| Capital One | Visa, Mastercard | Real-time notifications |
To set up Apple Wallet on your Apple Watch, follow these steps:
- Open the Apple Watch app on your iPhone.
- Select “Wallet & Apple Pay.”
- Add your credit or debit card by following the prompts, including verification through your bank.
With all these features right at your wrist, Apple Wallet transforms your payment experience into something truly efficient and modern. Make the most of this technology, and enjoy the convenience it brings to your everyday life!
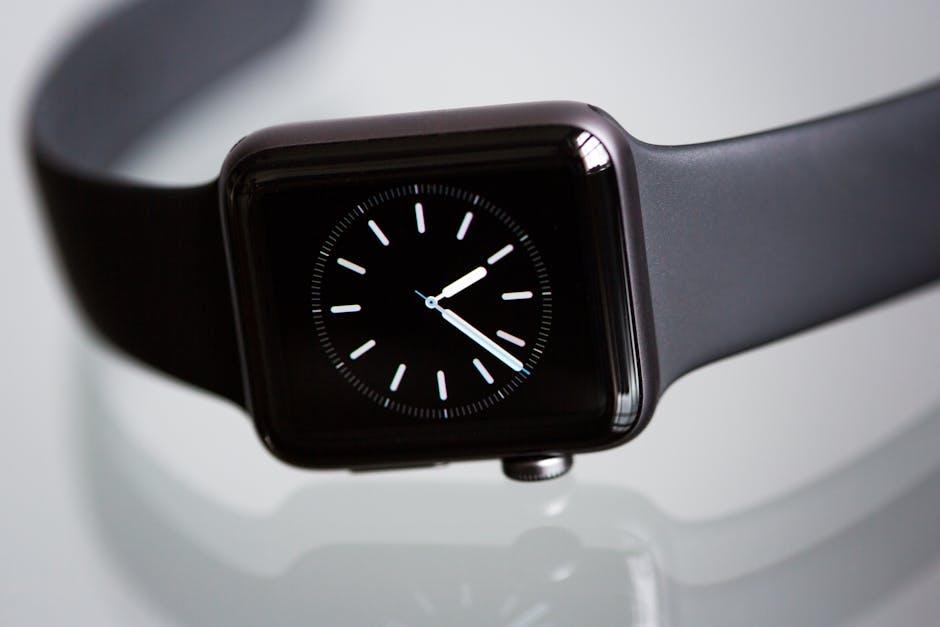
Setting Up Apple Wallet for Seamless Payment Experience
Setting up Apple Wallet on your Apple Watch can significantly enhance your payment experience by allowing you to make quick and secure transactions right from your wrist. Here’s how to get everything organized smoothly.
Getting Started with Apple Wallet
Before you can enjoy seamless payments, you’ll need to ensure your Apple Watch is properly set up and linked to your iPhone. Here’s a step-by-step guide to help you:
- Update Your Devices: Make sure your iPhone and Apple Watch are running the latest software. This guarantees access to all features of Apple Wallet.
- Open the Wallet App: Launch the Wallet app on your iPhone. You can find it on your home screen.
- Add a Card: Tap the “+” symbol in the upper right corner to start the card addition process. You’ll be prompted to either scan your card with the camera or enter the details manually.
- Follow Verification Steps: Most banks will require you to verify your card through an SMS or email. Simply follow the prompts to complete this step.
- Sync with Apple Watch: Make sure your Apple Watch is paired with your iPhone. Go to the Watch app, tap on “Wallet & Apple Pay,” and enable “Allow Payments.” Your added cards will sync automatically.
Making Payments Seamlessly
Once your cards are added, making payments is incredibly simple:
- Using Apple Watch: To pay, double-click the side button on your Apple Watch. Choose the card you wish to use, and hold your watch near the payment terminal.
- Using Face ID or Passcode: Some transactions may require you to authenticate using Face ID on your iPhone or entering your passcode on Apple Watch.
- Contactless Payments: Apple Wallet integrates with most contactless payment terminals, making it perfect for grocery stores, gas stations, and restaurants.
Security Measures
Apple Wallet provides robust security features to keep your financial information safe:
- Use of Tokens: When you make a payment, Apple Wallet uses a unique Device Account Number instead of your actual credit or debit card number, which keeps your card details secure.
- Two-Factor Authentication: Ensure you have enabled two-factor authentication for your Apple ID for enhanced security.
- Find My iPhone: If you ever lose your Apple Watch, you can easily locate it using the Find My iPhone feature, ensuring you can protect your payment information immediately.
| Bank/Card Type | Supported Features | Notes |
|---|---|---|
| Chase | Credit/Debit, Offers | Wide acceptance across merchants |
| Bank of America | Credit/Debit, Mobile Deposits | Integration with various banking features |
| Visa/Mastercard | Credit/Debit, Contactless Payments | Compatible with most payment terminals |
By following these steps, you can set up your Apple Wallet for a seamless payment experience, making your transactions quick, easy, and secure. Dive into the world of smart payments and enjoy the convenience right from your wrist!
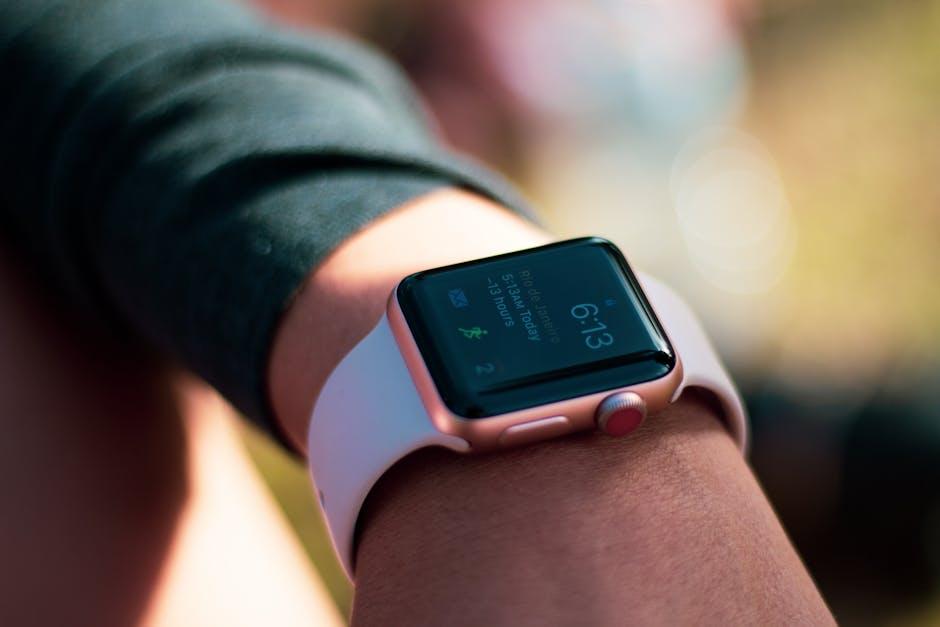
Customizing Your Wallet for Quick Access and Enhanced Security
Customizing your Apple Wallet on your watch not only enhances your user experience but also boosts security, ensuring that your payment methods are as efficient and safe as possible. Here’s how you can tailor your Wallet for quick access and greater peace of mind:
- Prioritize Your Cards: Arrange your cards in the order that you use them most frequently. Just tap and hold a card to drag it to the desired position. This saves time during transactions, allowing you to access your preferred payment method quickly.
- Set Your Default Card: Make one card your default for faster payments. Navigate to the Wallet app settings, select your preferred payment card, and set it as default. This way, you won’t need to fuss over which card to use when in a hurry.
- Enable Express Transit: If you frequently use public transport, set up your transit card for express transit. This allows you to pay without needing to wake your watch or unlock your device, making it quick and convenient.
- Add Insurance Cards: Keep important insurance cards, such as health or auto insurance, handy in your Wallet. This is crucial for quick accessibility during emergencies or appointments. You can easily add these cards by scanning them directly into the app.
- Activate Face ID or Touch ID: Ensure that your Wallet is protected with Face ID or Touch ID. This added layer of security means only you can access your payment methods, reducing the risk of unauthorized transactions.
- Monitor Transactions: Regularly check your transaction history within the Wallet app. This not only helps you keep tabs on your spending but also alerts you to any suspicious activity that may need addressing.
To visualize your customization options better, refer to the table below:
| Feature | Description |
|---|---|
| Card Arrangement | Drag to reorder your cards for quick access based on your spending habits. |
| Default Card Setting | Choose a card to automatically use for payments without having to select each time. |
| Express Transit Activation | Enable quick public transport payments without unlocking your watch. |
| Insurance Card Storage | Add relevant insurance cards for convenient access during emergencies. |
| Security Features | Utilize Face ID or Touch ID for enhanced safeguard against unauthorized access. |
| Transaction Monitoring | Keep track of your transactions regularly to detect and address any discrepancies. |
With these customizations, your Apple Wallet will not only be tailored to your unique needs, but will also offer enhanced security to protect your financial information.
Tips for Maximizing Your Apple Watch Payment Convenience
To make the most out of your Apple Watch for payments, consider these practical tips that enhance convenience and security:
- Set Up Multiple Payment Methods: Add several cards to your Apple Wallet to ensure you always have a backup. Include major credit cards such as Visa, MasterCard, and American Express, as well as any store loyalty cards for added savings.
- Enable Wrist Detection: This feature enhances security by requiring your wrist to be on a supported watch for transactions. Turn it on in the Apple Watch settings for added peace of mind.
- Learn the Double-Click Shortcut: Familiarize yourself with the double-click side button function to quickly access Apple Pay. This can save you time at the register and reduce fumbling.
- Use Contactless Payment Locations: Look for the contactless payment symbol at checkout. Many retailers, cafes, and even public transport systems support Apple Pay, making transactions effortless.
- Keep Your Watch Charged: Ensure your Apple Watch has enough battery life before going out. A dead battery means missed payment opportunities, so charge it regularly.
- Set a Unique Passcode: Add an extra layer of security by setting a passcode on your watch. This helps protect your payment information in case of loss or theft.
- Check Compatibility: Ensure your bank or financial institution supports Apple Pay. Most major banks in the U.S., including Chase, Wells Fargo, and Bank of America, are compatible, but always double-check.
- Monitor Spending: Use the Wallet app to track your purchases. Keeping an eye on your spending can enhance your budgeting and financial habits.
By implementing these tips, you can enhance the usability and efficacy of your Apple Watch for quick and secure payments, allowing for a smooth experience in daily transactions.

Insights and Conclusions
In conclusion, mastering Apple Wallet on your Apple Watch can transform your payment experience, making it more convenient and efficient than ever before. With just a few simple steps to set up your cards, you’re ready to make seamless transactions right from your wrist, freeing you from the hassle of carrying physical cards. Whether you’re picking up your morning coffee or shopping for essentials, Apple Pay offers a secure and swift way to manage your purchases. Embrace the simplicity of digital payments, and let your smartwatch streamline your financial transactions, allowing you to focus on what truly matters-living in the moment. Happy spending!


