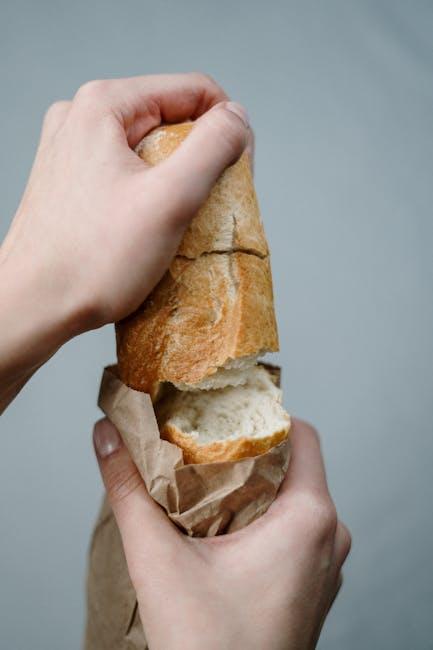
There’s something timeless and deeply satisfying about the aroma of freshly baked bread wafting through your home. Baking bread at home without a machine may seem daunting, but it’s a rewarding art that connects you to a simple, age-old ritual. From mixing and kneading to the gentle rise and golden crust, approaching bread-making by hand invites patience and creativity into your kitchen. Whether you’re a curious beginner or craving that perfect slice of homemade comfort, this guide will walk you through the essentials of baking bread without the hum of a machine-just flour, water, and a touch of hands-on magic.
Choosing the Perfect Ingredients for Homemade Bread
Every loaf begins with a thoughtful selection of components that merge simplicity with quality. At the heart of every successful homemade bread lies flour, but not all flours are created equal. Opt for unbleached bread flour, rich in gluten, to ensure that stretchy, airy crumb we all crave. Alongside this, whole wheat or rye flours can be introduced for added texture and flavor, but balancing them with higher-gluten flours is key for the perfect rise. Don’t forget the power of pure water, unchlorinated and at the right temperature, as it acts as the vital medium activating yeast and binding ingredients.
Yeast, salt, and a sweetener weave their magic next. Active dry yeast offers a reliable partner for creating lift and fermentation, while salt not only seasons but controls yeast activity-too much or too little can steer your bread’s destiny. A touch of honey or sugar feeds the yeast and lends subtle caramelized notes. The interplay of these elements is like a symphony, each ingredient playing a part to create a harmonious crust and crumb.
- Flour: Bread flour, whole wheat, rye
- Water: Filtered, lukewarm
- Yeast: Active dry or instant
- Salt: Fine sea salt or kosher salt
- Sweetener: Honey, sugar, or malt syrup
Mastering the Art of Mixing and Kneading Dough
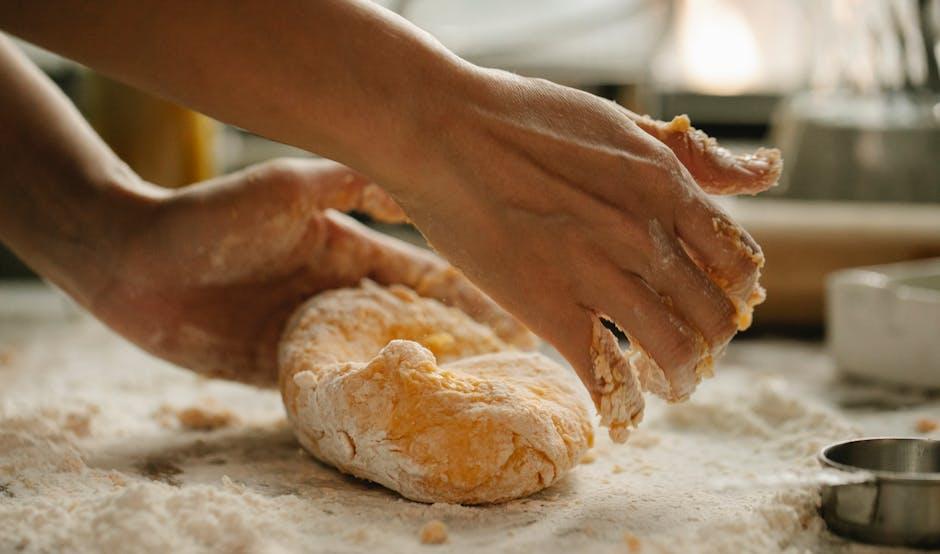
Achieving a perfectly textured loaf starts long before the dough hits the oven-it’s all about the hands-on magic during mixing and kneading. Begin by combining your ingredients gently until they form a shaggy mass; this initial stage allows the flour to hydrate without overworking. As the dough comes together, switch to kneading with a rhythmic push, fold, and turn method that encourages gluten development. Gluten acts as the bread’s backbone, providing structure and elasticity, so don’t rush this step. Aim for a smooth, elastic dough that springs back when pressed lightly, signaling that your bread will have a delightful crumb and chew.
Keep a close eye on texture and consistency throughout. If the dough feels tacky but not sticky, you’re on the right track. To help you visualize, here’s a quick guide to dough sensations during kneading:
- Too wet: Very sticky, clings to fingers – add small flour increments.
- Too dry: Cracks or tears – sprinkle in a touch of water.
- Perfect: Smooth, slightly tacky, and springs back.
| Stage | Feel | Action |
|---|---|---|
| Shaggy Mix | Loose and rough | Mix gently, avoid overworking |
| Early Knead | Sticky and shaggy | Begin rhythmic folding |
| Developed Dough | Smooth and elastic | Ready for proofing |
Techniques for Effective Proofing Without a Bread Machine
Achieving the perfect rise without a bread machine requires a touch of patience and a few clever tricks. One key approach is to create a warm, draft-free environment which encourages the yeast to activate gently. Simple methods include placing your dough bowl inside a turned-off oven with the oven light on or covering it with a damp kitchen towel while resting on top of a radiator. These cozy habitats mimic the ideal proofing temperature, helping the dough expand evenly without rushing the process.
Another creative technique involves controlling humidity to prevent the dough’s surface from drying out. You can place a shallow pan of hot water next to the dough during proofing, or cover the dough container with plastic wrap to trap moisture. For those short on time, a towel soaked in warm water and wrung out can be draped over the dough to keep it soft and pliable. Each of these techniques respects the natural fermentation rhythm, allowing the yeast to fully develop flavor and texture- essentials for a homemade loaf that rivals any bakery creation.
Baking Tips to Achieve a Crispy Crust and Soft Interior
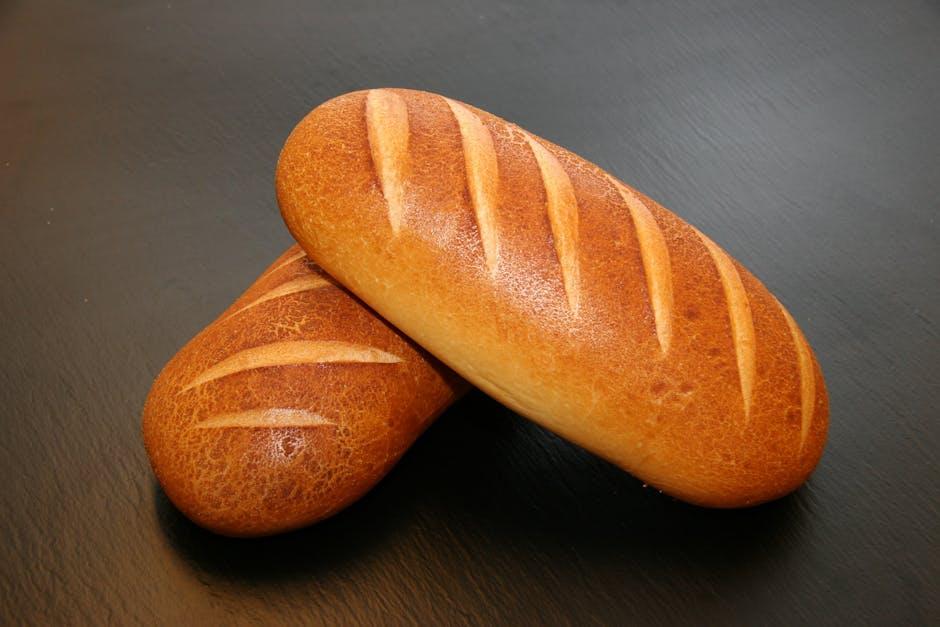
Creating the perfect balance between a crispy crust and a tender crumb is all about controlling heat and moisture during the baking process. Start by preheating your oven with a baking stone or heavy-duty tray inside to ensure an even and intense heat source. Just before placing your dough inside, toss a few ice cubes or pour a small amount of water into a hot pan at the bottom of the oven to generate steam. This steam keeps the surface of the dough moist, allowing it to expand fully before the crust forms, resulting in a crackling exterior.
Other simple techniques you can use include:
- Scoring the dough deeply with a sharp blade: this directs gas escape, encouraging beautiful crust patterns.
- Using high-protein flour: this strengthens the gluten structure, supporting a chewy interior.
- Baking at a high temperature initially (around 230°C/450°F) then lowering it after 10-15 minutes to let the inside cook through.
- Allowing bread to cool completely on a wire rack: this prevents sogginess from trapped steam.
| Stage | Temperature | Duration | Effect |
|---|---|---|---|
| Initial Bake | 230°C / 450°F | 10-15 min | Crust formation and steam effect |
| Main Bake | 190-200°C / 375-400°F | 20-30 min | Even heat to cook interior |
| Cooling | Room temperature | At least 1 hour | Crust hardens, crumb sets |
Concluding Remarks
Baking bread at home without a machine may seem like a simple task, but it’s truly an art that connects you to centuries of tradition and the comforting aromas of fresh, warm loaf. With just a few basic ingredients, a bit of patience, and some hands-on effort, you can transform your kitchen into a cozy bakery. Whether you’re kneading dough by hand, watching it rise, or pulling a golden crust from the oven, the process is as rewarding as the delicious result. So, roll up your sleeves, embrace the doughy adventure, and enjoy the timeless satisfaction that only homemade bread can bring. Happy baking!


