In today’s credit-cards-in-the-usa/” title=”Unlock Savings with the Best Grocery Reward … in the USA”>fast-paced world, convenience is key, especially when it comes to managing your finances. Enter Apple Pay-a seamless and secure digital payment solution that transforms your iPhone into a wallet. Whether you’re grabbing your morning coffee or shopping online, setting up Apple Pay is a simple process that can be completed in just minutes. This guide will walk you through the steps to add your credit or debit cards to the Wallet app, empowering you to make contactless payments with ease and confidence. Get ready to unlock a new level of convenience right from your pocket!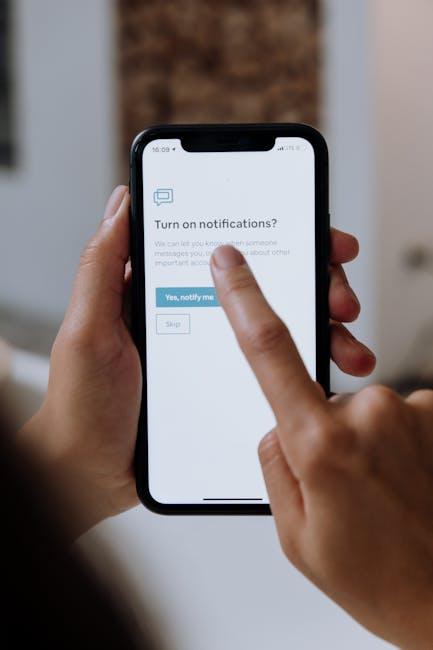
Getting Started with Apple Pay on Your iPhone
Setting up Apple Pay on your iPhone is a straightforward process that can be completed in just a few minutes. Here’s how to get started:
- Open the Wallet app: Locate the Wallet app on your iPhone. It’s usually pre-installed on all recent models.
- Tap the plus sign (+): This icon is usually found in the top right corner. Tapping it will begin the card-adding process.
- Add your card: You can either enter your card details manually or use your iPhone’s camera to capture them. If it’s a credit, debit, or prepaid card from a U.S. bank (Visa, Mastercard, American Express, and Discover are widely supported), you’ll have the option to quickly add it.
- Verify your card: Your bank may require you to verify your card through a text message or a phone call. Follow the prompts to complete this step.
- Set up Apple Pay: Once your card is added, you’ll be prompted to set up your payment settings, including Face ID or Touch ID for secure transactions.
After adding your cards, you’re ready to make purchases with Apple Pay. Here’s a simple guide for using it:
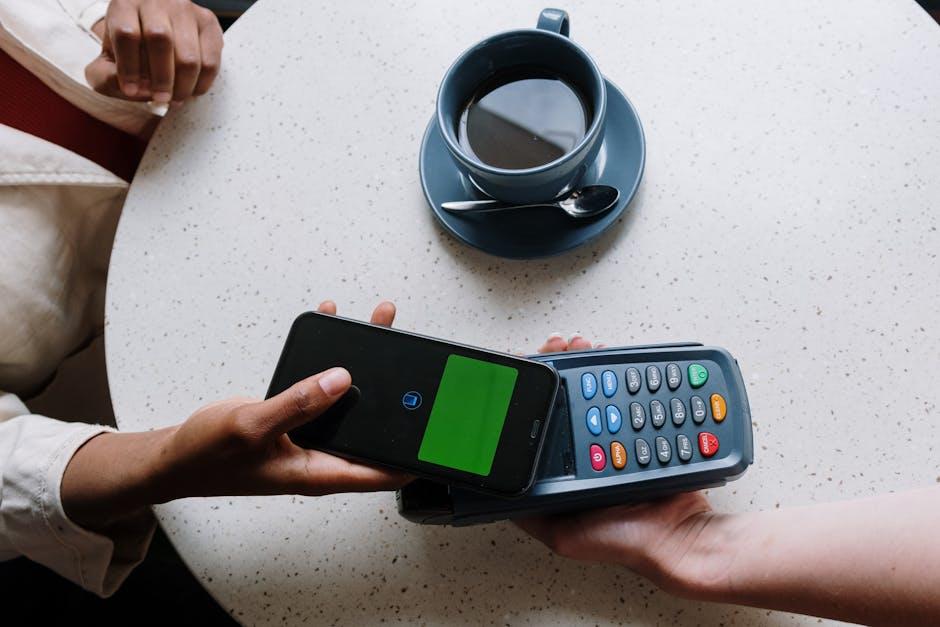
- In-store payments: To pay at a contactless reader, hold your iPhone near the reader. Authenticate the payment using Face ID, Touch ID, or your passcode.
- Online purchases: When you’re shopping online, select Apple Pay at checkout and confirm your payment on your device.
For your convenience, here’s a quick summary of supported banks:
| Bank | Type |
|---|---|
| Chase | Credit/Debit |
| Bank of America | Credit/Debit |
| Wells Fargo | Credit/Debit |
| Citi | Credit/Debit |
| Capital One | Credit/Debit |
Step-by-Step Guide to Adding Your Card
Ready to start using Apple Pay? Adding your credit or debit card to your iPhone is a quick and easy process. Just follow these simple steps:
- Open the Wallet app: Locate the Wallet app on your iPhone. It’s usually found on your home screen.
- Tap the ‘+’ icon: In the Wallet app, look for the “+” icon in the upper right corner and tap it to start adding a new card.
- Scan or enter your card details: You can either use your iPhone’s camera to scan your card or enter your card details manually. Make sure you input all numbers accurately.
- Verify your card: Depending on your bank, you may need to verify your card. This could involve receiving a verification code via SMS or email, or using your bank’s app.
- Agree to the terms: Review any terms and conditions from your bank or card issuer. Tap ‘Agree’ to proceed.
- Ready to go: Once your card has been added and verified, it will appear in your Wallet app. You can now use Apple Pay for transactions wherever it’s accepted!
If you want to check which cards are currently added:
- Open the Wallet app and scroll through your cards.
- Tap on any card to see its details and settings.
Here’s a quick table summarizing the requirements for popular American banks that support Apple Pay:
| Bank | Supported Cards | Mobile Verification |
|---|---|---|
| Chase | Visa, MasterCard, Discover | SMS or Chase mobile app |
| Bank of America | Visa, MasterCard | Email or Bank of America app |
| Citi | Visa, MasterCard, American Express | SMS or Citi mobile app |
| Wells Fargo | Visa, MasterCard | Wells Fargo app |
That’s it! You’re just a few taps away from making secure payments from your iPhone using Apple Pay.
Troubleshooting Common Setup Issues
Setting up Apple Pay is generally quick and easy, but sometimes issues can arise during the process. Here are some common troubleshooting steps to help you get back on track:
- Check Device Compatibility: Ensure your device is compatible with Apple Pay. You need an iPhone 6 or later, Apple Watch, or other compatible Apple devices running the latest version of iOS or watchOS.
- Update Your Software: Make sure your device is running the latest software. Go to Settings > General > Software Update to check for updates.
- Add a Supported Card: Not all banks and cards are supported. Confirm that your card issuer participates in Apple Pay. Many major banks like Chase, Bank of America, and Wells Fargo support it.
- Verify Your Apple ID: Ensure you’re signed in with your Apple ID. Go to Settings > [Your Name] > iCloud to confirm your account is active.
If you’re still experiencing issues, consider these additional troubleshooting steps:
- Check Your Region Settings: Apple Pay may not be available in all areas. Go to Settings > General > Language & Region to confirm that your settings are correct for your current location.
- Restart Your Device: A simple restart can resolve many temporary glitches. Hold down the power button and swipe to power off, then turn it back on.
- Reset Network Settings: If you’re having connectivity issues, go to Settings > General > Reset > Reset Network Settings. This will erase saved Wi-Fi passwords, so make sure you have them handy!
- Contact Your Bank: If problems persist, reach out to your bank’s customer service. They may have insights specific to your card or account.
Lastly, if all else fails, you can find more detailed troubleshooting tips on reputable tech sites like TechRepublic or Business Insider, which often have comprehensive guides for addressing Apple Pay issues.

Maximizing Your Apple Pay Experience with Tips and Tricks
To truly enhance your experience with Apple Pay, it’s essential to explore various strategies and features that not only make transactions easier but also maximize your rewards and savings. Here are some valuable tips and tricks:
- Utilize the Apple Card: If you’re an Apple Card user, you earn 2% daily cash back on every purchase made with Apple Pay. It’s a straightforward way to accumulate rewards without any extra effort.
- Link to Reward Programs: Many retailers and credit cards have reward programs that can be linked to Apple Pay. This allows you to earn points or cash back on purchases, further enhancing savings.
- Know the Participating Merchants: Understanding which stores and online platforms accept Apple Pay can help you make the most of your transactions. Major retailers like Target and Starbucks support Apple Pay, as do many dining and shopping apps.
- Use for Recurring Payments: Set up automatic payments for bills and subscriptions via Apple Pay. This not only simplifies your payment process but ensures you’re never late on payments.
- Explore Promotions: Keep an eye out for special promotions or bonus cash back offers from your card issuer or specific retailers when using Apple Pay. These can vary frequently and offer significant savings.
- Stay Secure: Always keep the latest iOS version updated to take advantage of security features. Use Face ID, Touch ID, or a secure passcode for added protection while using Apple Pay.
- Monitor Transactions: Use the Wallet app to track your spending and see transaction details. This awareness can help you manage your budget better and spot any discrepancies quickly.
Incorporating these tips can transform your Apple Pay experience from merely convenient to incredibly rewarding. Whether you’re buying a morning coffee or making a significant purchase, these strategies can help you maximize benefits while enjoying the simplicity Apple Pay offers.

In Conclusion
In just a few simple steps, you can harness the convenience of Apple Pay on your iPhone, transforming the way you make purchases. With security features and an intuitive interface at your fingertips, you’re not just setting up a payment method; you’re stepping into a seamless and modern shopping experience. Now that you’re equipped with the knowledge to get started, why not take a few minutes, open your Wallet app, and set up Apple Pay today? Enjoy the freedom of cashless transactions and the ease of shopping at your favorite stores-all with just a tap. Happy spending!


