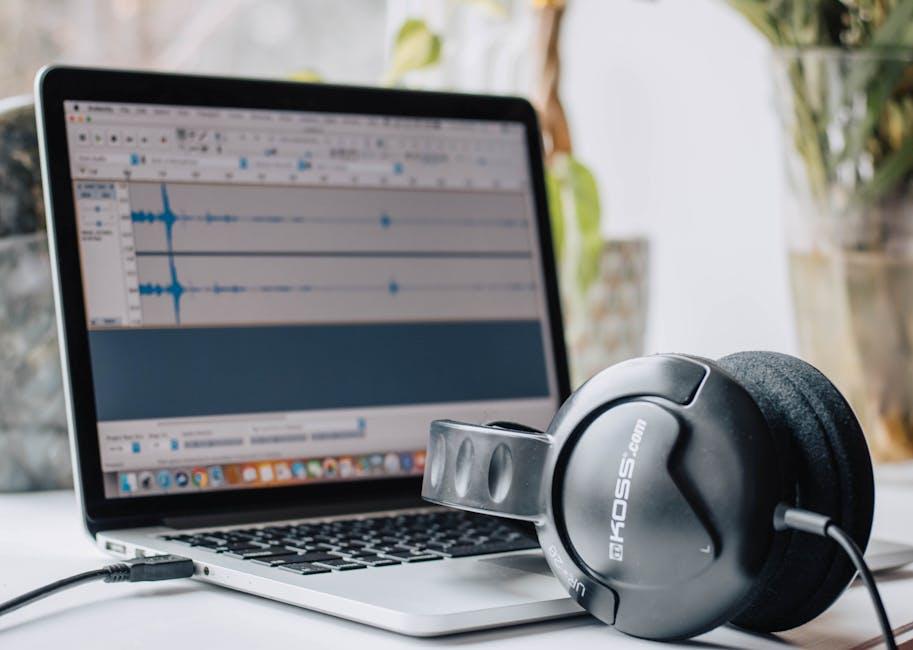
In the age of digital storytelling and remote collaboration, screen recording has become an invaluable tool for creators, educators, and professionals alike. Whether you’re crafting an engaging tutorial, capturing gameplay for your audience, or sharing insights during a virtual meeting, mastering the art of screen recording on your Mac can enhance your communication and creativity. This article will guide you through the seamless process of screen recording, making it not only easy to grasp but also an enjoyable experience. From the built-in tools you’ll find in macOS to third-party software options, you’ll discover tips and tricks to elevate your recordings, ensuring your message is clear and captivating. Join us as we explore the fun side of capturing your screen, turning the complex into something effortless and exciting!
Unlocking the Power of Built-In Screen Recording Tools on Your Mac
If you’re a Mac user, you’re in luck! The built-in screen recording tools on your Mac make capturing your screen simple and intuitive. Whether it’s for creating tutorials, recording gameplay, or sharing presentations, you can unlock this powerful feature with just a few clicks.
Let’s dive into how to utilize these tools efficiently and effectively:
- Accessing Screen Recording: Press
Command+Shift+5to open the screen recording interface. This will reveal a convenient toolbar at the bottom of your screen. - Choosing Your Recording Type:
- Record Entire Screen: Click the full-screen icon to capture everything on your display.
- Record Selected Portion: Use the dotted rectangle icon to drag and select a specific area to record.
- Audio Options: To add audio to your recordings, click “Options” in the toolbar and select your desired microphone. This is great for adding voiceovers or commentary.
- Setting a Timer: Need a moment to prepare before the recording starts? You can set a 5- or 10-second timer under the “Options” menu.
- Saving and Sharing: Once you stop recording, a thumbnail appears. You can quickly share it via Mail or Messages, or save it directly to your desktop or chosen folder.
Here’s a quick reference table to summarize the screen recording keyboard shortcuts:
| Action | Shortcut |
|---|---|
| Open Screen Recording Tool | Command + Shift + 5 |
| Record Entire Screen | Click on the full-screen icon |
| Record Selected Portion | Click on the selected portion icon |
| Add Audio | Select microphone under Options |
| Stop Recording | Click the stop button in the menu bar |
Utilizing these built-in screen recording tools can enhance your productivity and simplify your communication. So go ahead-explore, create, and share!

Essential Tips for Capturing High-Quality Screen Videos
Capturing high-quality screen videos can elevate your content, whether you’re creating tutorials, gaming streams, or presentations. Here are some essential tips to ensure your recordings are crystal clear and engaging:
- Choose the Right Resolution: Always record at a suitable resolution. For most purposes, 1080p (1920×1080) is the sweet spot, offering a balance between quality and file size. For professional presentations, consider going for 4K.
- Utilize Quality Audio: Clear audio can make or break your video. Invest in a good microphone, and ensure you record in a quiet environment to avoid background noise.
- Light Your Environment: Proper lighting is crucial. Natural light works wonders; if that’s not an option, consider using softbox lights or ring lights to brighten your workspace.
- Practice Your Flow: Run through your content before recording. Aim for a smooth delivery to minimize edits later. Familiarize yourself with shortcuts and tools in your recording software.
- Monitor Your Storage: High-quality recordings can take up significant space. Ensure you have ample storage available and regularly back up your files to avoid losing your work.
- Check Your Settings: Adjust your recording settings-frame rate (30 fps is standard for most videos), bit rate, and codec can affect quality. Experiment to find what works best for your content type.
Once you’re set up, consider using tools like QuickTime Player on your Mac for simple screen recordings or advanced software like OBS Studio for more complex needs.
| Tip | Description |
|---|---|
| Resolution | Record at 1080p for quality; 4K for professional needs. |
| Audio | Use a quality microphone; eliminate background noise. |
| Lighting | Utilize natural or artificial light for clarity. |
| Flow | Practice to ensure smooth delivery and reduce edits. |
| Storage | Monitor available space; backup recordings regularly. |
| Settings | Check frame rate and codec for optimal quality. |

Enhancing Your Recordings with Editing Techniques and Software
Enhancing your screen recordings can truly elevate the quality of your content, making it more engaging and professional. Whether you’re creating tutorials, presentations, or live streams, editing your recordings is essential for clarity and effectiveness.
Here are some effective techniques and software options to polish your recordings:
- Trimming and Cutting: Remove unnecessary segments to keep your content concise. Most editing software allows you to easily cut out mistakes or long pauses.
- Adding Captions: Enhance accessibility by incorporating captions. This not only helps the hearing impaired but also allows viewers to follow along without sound.
- Incorporating Background Music: A subtle background track can set the tone of your video. Make sure it’s royalty-free music to avoid copyright issues.
- Transitions and Effects: Smooth transitions (like fades or wipes) between clips can enhance the flow of your presentation.
- Voiceover Narration: If there are sections that require additional explanation, consider recording a voiceover to elaborate on key points.
| Editing Software | Key Features | Best For |
|---|---|---|
| iMovie | Simple interface, built-in templates, music library | Beginner users and basic video projects |
| Final Cut Pro | Advanced editing tools, 360-degree video editing | Professional users needing extensive features |
| Camtasia | Screen recording, quizzes, and interactive elements | Educational content creators |
| Adobe Premiere Pro | Multi-track editing, extensive effects library | Professionals working on high-quality projects |
Experimenting with these techniques and tools can take your screen recordings from ordinary to extraordinary. Remember: The key is to keep your audience engaged while effectively communicating your message.

Share and Showcase: Best Practices for Distributing Your Screen Recordings
Distributing your screen recordings effectively can amplify your message and enhance viewer engagement. Here are some best practices to ensure your recordings reach the right audience and make a lasting impact.
- Choose the Right Platform: Different platforms serve unique purposes. For business presentations, consider using tools like YouTube or Vimeo, while platforms like Loom are excellent for internal communications.
- Optimize File Format: Always export your recordings in widely supported formats like MP4 or MOV. These formats maintain quality while being compatible across various devices and platforms.
- Craft a Compelling Description: A solid title and description can greatly improve visibility. Include keywords relevant to your content-think about what viewers might search for.
- Utilize Thumbnails: Create custom thumbnails that entice viewers to click. A striking visual can significantly increase your click-through rates.
- Leverage Social Media: Share your recordings on social media platforms such as LinkedIn, Twitter, or Facebook. Tailor your message to fit the audience of each platform for maximum engagement.
- Ask for Feedback: Engaging your audience by encouraging comments and feedback can help refine your future recordings. Use their insights to improve your content consistently.
- Embed in Blog Posts: For added context and reach, embed your screen recordings within relevant blog posts. This can enhance the reader experience and increase the time they spend on your site.
Utilizing these strategies can help your screen recordings gain traction, ensuring that your message resonates with your intended audience.

Closing Remarks
As we wrap up our journey through the art of screen recording on your Mac, we hope you feel empowered and inspired to capture your digital world like never before. Remember, mastering this skill opens up a myriad of possibilities-from creating engaging tutorials and dynamic presentations to preserving those priceless moments from your screen.
Embrace the power of your Mac, explore the tools at your disposal, and enjoy the seamless process of recording. With a bit of practice, you’ll not only enhance your productivity but also bring a creative flair to your recordings. Now, go ahead and unleash your creativity; the screen is your canvas, and the world is waiting to see what you can create!


